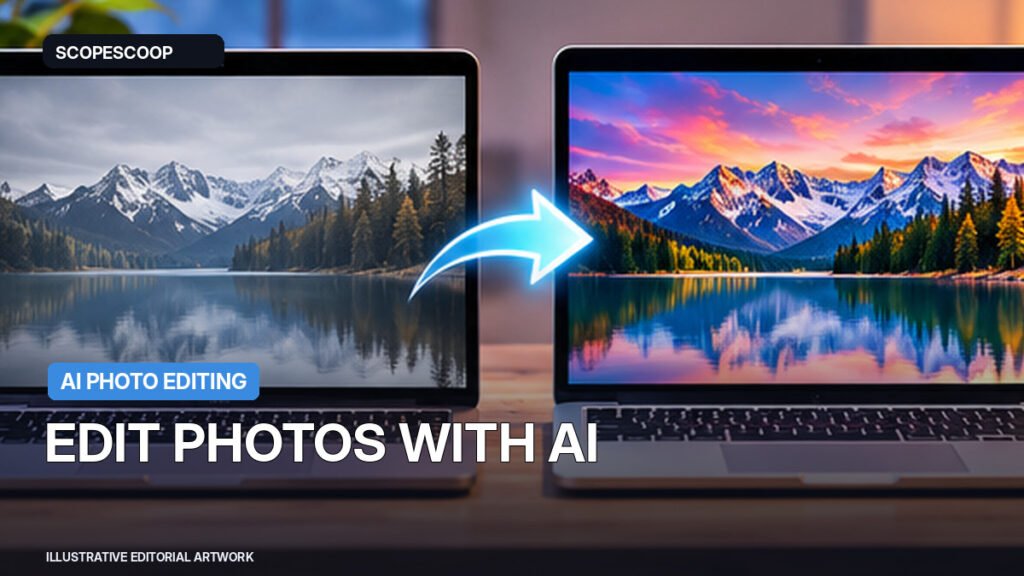
You no longer need to learn complicated layers just to brighten a travel photo, clean up a distracting background or turn an ordinary picture into something more polished. AI photo editing tools can handle many of those requests in plain English. Two accessible places to start are ChatGPT and Google’s Gemini.
Both services provide image features with free access, but free limits, image quality options, eligibility and the names of features can change. This guide focuses on the workflow that matters: upload a photo you have the right to use, say exactly what you want changed, review the result and save a version you are happy with.
ChatGPT vs Gemini: quick comparison
| What you want | ChatGPT | Gemini |
|---|---|---|
| Give an edit instruction in plain English | Yes, through Images/chat | Yes, through Gemini image tools |
| Edit an uploaded picture | Available through image editing | Available through upload-and-edit workflows |
| Refine an edit by asking for changes | Yes | Yes |
| Guaranteed unlimited free image edits | No | No |
| Best for | Conversational iterations | Flexible Gemini image-generation and edit flows |
This is a feature comparison based on public documentation, not a claim that ScopeScoop independently tested identical photos on both services. Results vary by image, account, model and prompt.
How to edit a photo in ChatGPT
- Open ChatGPT and sign in to an account with image features available.
- Start a chat and upload a photo. Choose one you own or have permission to edit.
- Ask for one clear change: for example, “Brighten the image naturally, lift the shadows on the face, and keep skin texture realistic.”
- Review details around hair, hands, jewelry, text and other areas AI can distort.
- Use a follow-up such as, “Keep the original framing and fix only the background lighting.”
- Save the version you prefer. Keep the untouched original in case you want to reverse the edit later.
OpenAI also describes editing an existing generated image by selecting part of it or explaining the desired change in the image editor. Interface placement can differ between web and mobile.
How to edit a photo in Google Gemini
- Open Gemini in your browser or app and sign in.
- Choose the image creation/editing flow available on your account.
- Upload your picture using the attachment option and describe the edit in ordinary language.
- For example, say, “Remove the parked car in the distance, keep the people unchanged, and blend the road naturally.”
- Examine the result carefully and request a smaller, more precise revision if needed.
- Save the image you want to keep.
Google’s help center describes Nano Banana image-editing workflows, including editing a generated image, uploading an image for edits and—in supported flows—working with more than one uploaded image. Paid users may have extra model or output options.
Six useful prompts you can copy
1. Fix lighting
“Increase exposure slightly, correct the white balance, preserve natural skin tones and do not change anyone’s facial features.”
2. Clean up a background
“Remove the stray items from the table behind the subject. Keep the person and the original camera perspective exactly the same.”
3. Improve a product photo
“Make the lighting soft and even, use a clean light-gray background and preserve the product’s shape, label, color and proportions.”
4. Restore a faded photo
“Reduce scratches and improve contrast gently. Do not invent facial details or change the identity of the people in this photo.”
5. Make a travel picture pop
“Enhance the sky and landscape with subtle natural colors. Keep the horizon straight and avoid oversaturation.”
6. Create a social media crop
“Make a vertical 4:5 crop, keep the main subject centered and leave space for a caption at the top. Do not stretch or distort the subject.”
What the word “free” really means
You may be able to make edits without paying, but free access typically has usage limits. A specific image feature might be unavailable temporarily when your limit is reached. Some tools support higher-resolution output or extra models on paid plans. Check the service’s official usage guidance rather than relying on a fixed “unlimited free” promise.
Privacy, permission and authenticity
Before uploading family photos, ID cards, client images or private documents, think about whether the service is appropriate for that information. Do not upload someone else’s image without permission. AI editing can change tiny details you did not ask it to change, so use the original for identity, legal, news or medical evidence.
If an image is heavily altered and shared as news, label it clearly as AI-edited or illustrative. For a blog featured image, make sure the result does not falsely depict a real event, person or product feature.
Which one should you choose?
If you like having a back-and-forth conversation about small changes, try ChatGPT first. If you already use Google services and prefer the Gemini workflow, try it with the same small editing task. The best test is to choose an unimportant photo, write the same prompt in both tools and compare how well each preserves the subject.
Frequently asked questions
Can I use AI to remove an object from a photo?
Often yes. Describe the object clearly and specify which parts of the image must remain unchanged. Inspect the result for unwanted edits.
Can I edit photos for free in both tools?
Image editing may be available without a paid plan, subject to current limits and eligibility. Check the latest help pages for your account.
Will the tools keep faces identical?
Not always. For family portraits and sensitive images, ask the tool to preserve faces and compare the result carefully with the original.
Disclosure: This is an independently written how-to based on published product documentation. We have not run a side-by-side benchmark or measured output quality for this article.
Sources and further reading
- OpenAI guide to images in ChatGPT
- OpenAI ChatGPT free-tier guide
- Google Gemini image editing help
- Google Gemini feature and limits guide
Related Web Story: See the 7-slide visual guide.